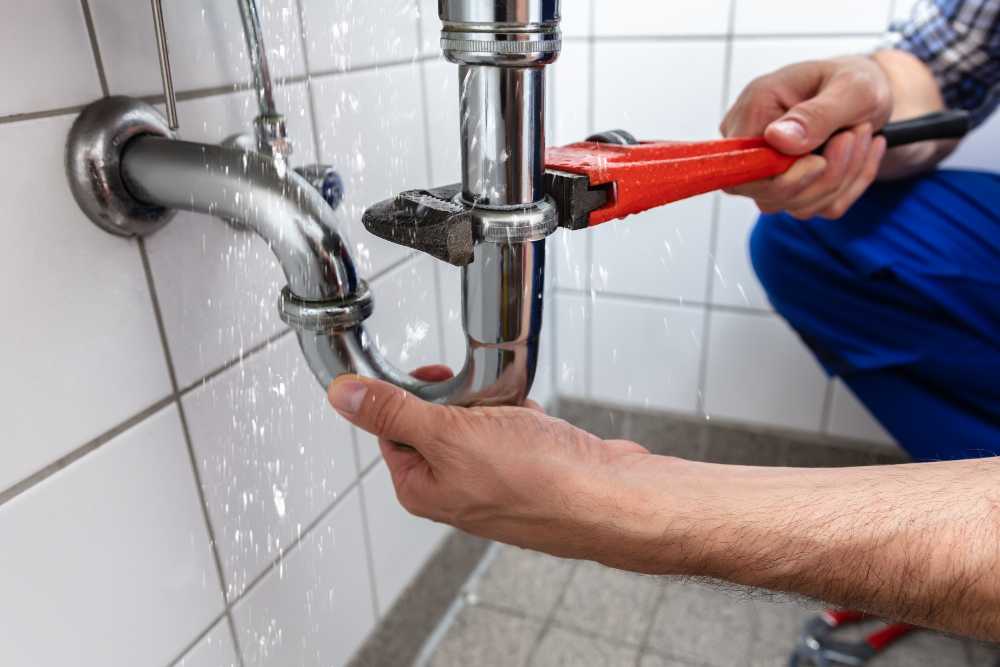
Did you know that a leaking faucet can waste up to a thousand Naira worth of water? And that’s just a minor leak. A larger faucet leak can waste more than 30 gallons of water a day, putting a significant dent in your wallet. To help you save money, we have compiled a list of 5 causes of leaky faucets and how to fix them.
5 Causes of Leaky Faucets
There are many more causes of leaky faucets than you might think. Here are the main five causes:
A Damaged Cartridge
If you have a faucet with two handles, one for hot water and the other for cold, then you have a cartridge-style faucet. The cartridge is a valve on each handle that controls the flow of the water into the faucet spout. If your faucet is dripping water, this is a sign of damage to the cartridge.
Broken Washers
A common cause of a leaking faucet is broken washers. Washers rest against the valve seat, and overtime, friction can cause the washers to wear out. This then leads to leaking. If a washer is the wrong size or not installed properly, it can also lead to leaking.
Water Pressure
If you notice that the faucet in your bathroom only drips water during certain times or when your faucet’s handles move a certain way, then it could be your home’s water pressure that is causing the leaks.
Malfunctioning O-Ring
An O-ring is located in the sink’s faucet. It is a small disc that is attached to the stem screw to hold the handle of the faucet in place. Similar to washers, O-rings can get worn out or loose. If one of your faucet’s handles is leaking, this is probably the cause.
Deteriorated Valve Seat
If your faucet is leaking from the spout, then it could be the valve seat. The valve seat connects the faucet to the spout. Sediment can build up and corrode the seat, causing a leak.
How To Fix A Leaky Faucet
Save yourself some money by fixing a leaky faucet yourself. Be your own plumber—and follow these steps:
Deactivate the Water
One of the most important steps in fixing a leaking faucet is to turn off the water. If you do not shut off the water to the sink, you could end up flooding your bathroom. To shut off the water, look for the fixture shutoff valves below the sink and turn the handles clockwise. If your faucet doesn’t have any shutoff valves, turn off the main water supply for the house. Check to make sure that the water is off by turning the faucet on. If no water comes out, then you did your job.
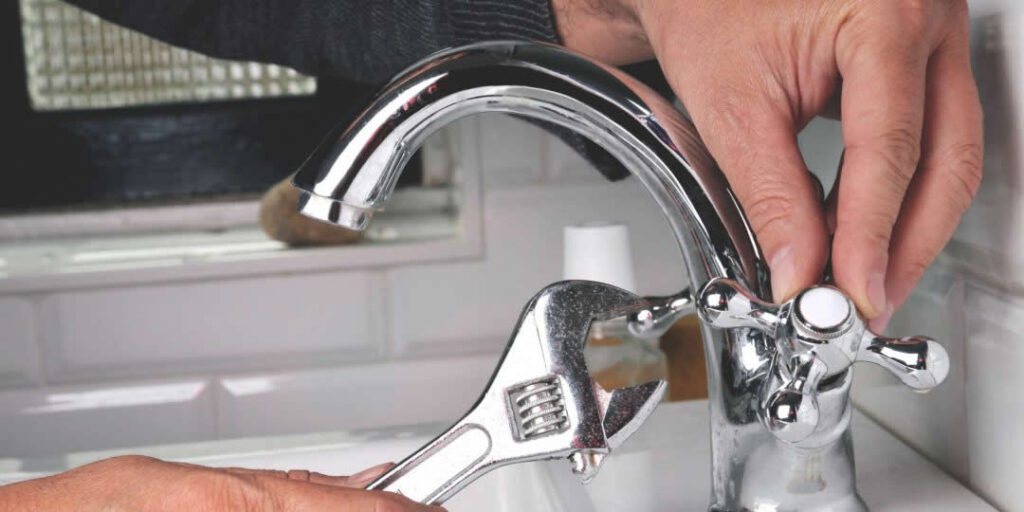
Disassemble the Faucet Handles
The way to remove the handles of a dripping faucet depends on the type of fixture. For standard fixtures, you can use a flathead screwdriver to remove the caps on top of the handle, revealing handle screws. Unscrew these and pull the handles off.
Detach the Valve Stem
Once the faucet handle is removed, you will see the inner valve stem or cartridge. This also needs to be removed. Compression faucets have a brass valve stem that can be unscrewed. Cartridge faucets can be pulled straight out. If you are having trouble, you can refer to your faucet manual or look up instructions online.
Inspect the Parts of the Sink
Once you have taken all the parts out, carefully inspect them to confirm what needs to be replaced to fix the leaking faucet. You should see rubber washers, O-rings, and seals.
Replace the Damaged Parts
If any parts are old or worn out/damaged, replace them. Go to your local hardware store and find the parts you need. The best and easiest way to get the right parts for your dripping faucet is to bring the old ones into a hardware store and ask for exact duplicates.
Sanitize the Valves
Look at the valve body after you have removed the stem or cartridge. Usually, there tends to be mineral buildup. To clean it, pour white vinegar over the valve seat and let it soak for a couple of minutes. Then scrub it away, and scrub the other parts of your sink to restore it’s shininess and smoothness.
Put The Faucet Together
Once you have the new replacement parts and have cleaned everything, reassemble the faucet. Turn the water supply on and check for any leaks.